Overview
In this project I use a commercially available PIR (passive infrared) sensor, the same typically found in home alarm systems, to make a home automation multi-sensor by equipping it with an ESP8266.Motivation
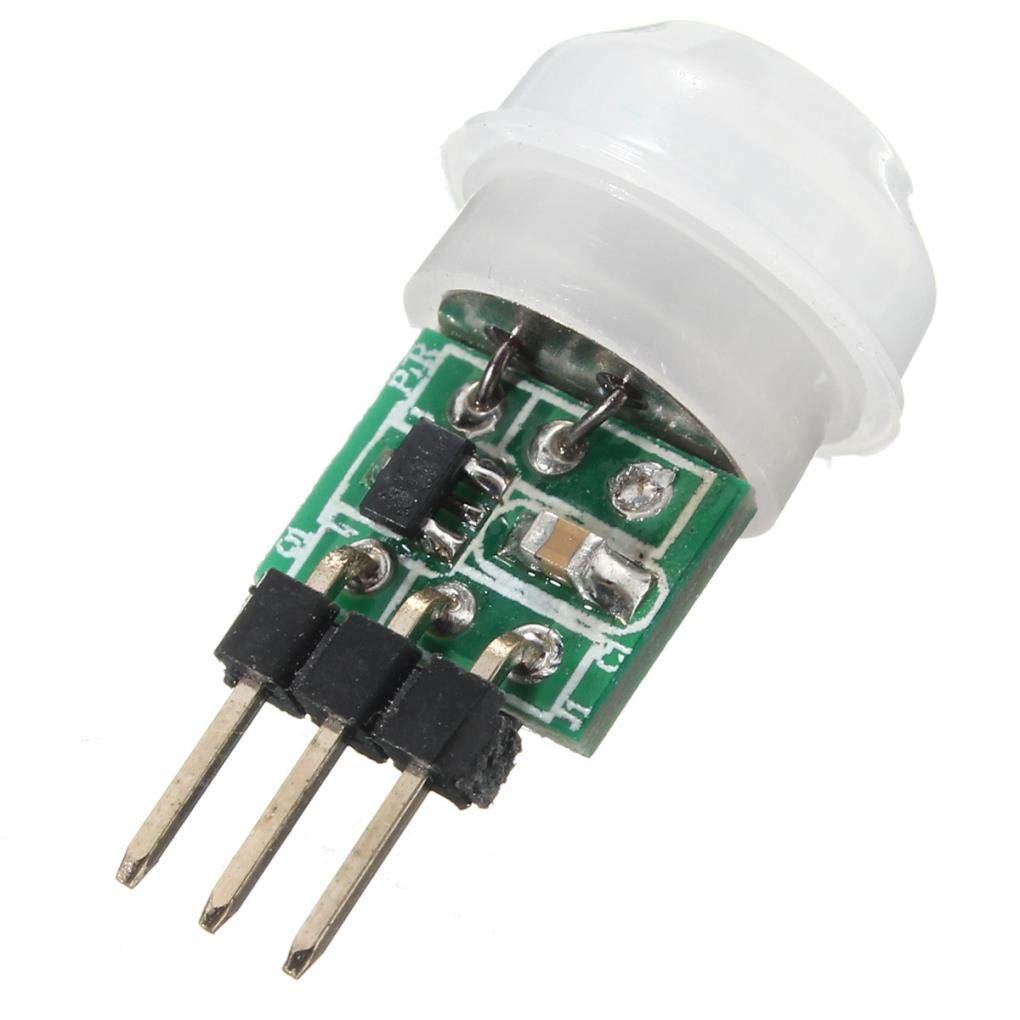
There are many project quality PIR sensors available for use with Arduino-like devices such as this...
https://amzn.to/2GGhyPs
It was an obvious choice to use one when making a home automation trigger.
However... after building a test device on breadboard with an ESP8266 I found there were a lot of false alarms. After a bit of research I found others had similar issues, it appears this, and similar units, have poor RF interference protection resulting is false triggers.
I have come across others that used this PIR with better RF protection against false alarms.
I decided against using this for my home automation sensor for two reasons;
- It's still hobby grade. By this I mean it's susceptible to change design at any time with no requirements to adhere to any standards.
- I still need to design/make/print a case
Solution
Use a commercial sensor. This perfectly answers the two points above.
- Commercial grade. This has to conform to alarm grade standards so it's RF shielded, designed to operate 24/7 in home environments.
- It has a purpose designed case, mount, IR window, etc.
The Build
I had no preference for PIRs so just went for any alarm sensor that was at the lower end of the price spectrum and looked large enough to accomodate an ESP8266. I went for the
Honeywell IS312B as it is 'Pet Tolerant' and includes a 'Swivel Bracket' all for sub £12.

That'll do.
The first task is to work out how to interface with the PIR. Looking at the green edge connector along the top of the PCB, left to right we have T2, T1, NC, C, V-, V+

The obvious terminals are V- and V+ and reading the data sheet it says it uses 9 – 15 VDC, a nice wide supply voltage. I powered it up with a 12v bench supply to test it worked. It has about a 10 second warm up time before it's ready to start sensing. Getting the multimeter out and using the continuity mode it was pretty quick to find out that when the sensor is idle NC and C are a closed-circuit. When motion is detected NC and C go open-circuit.
I think T1 and T2 are tamper detection terminals, I'm not interested in this feature just now so didn't bother to characterise their behaviour.
Now we have the connections mapped we can move to task two, ESP8266 integration.
I have a drawer full of ESP8266 devices in various guises, NodeMCU, Wemos D1 Mini and bare 8266's in the 01, 07 forms. The bare forms like the 01 and 07 are great because they are tiny, however they lack the USB controller and power regulator so for development I just used the Wemos D1 Mini.
It turned out the D1 fits perfectly under the PIR PCB. I mean perfectly, like it's designed for it. I didn't even bother fixing it in place, just used some tiny sticky foam pads on top of the D1 and used the compression from the PIR PCB when it's clipped into its mounting points.


The alarm state is just read using a digital read. C is held low by connecting it to V- (which is actually ground). A GPIO of the D1 is connected to NC and configured as an input with the internal pull up resistor enabled.
pinMode (PIR_PIN, INPUT_PULLUP);
This means that when NC - C goes open circuit we read the internal rail voltage thanks to the pull up resistor. When NC - C is closed the input pin is pulled low.
I said at the start this was a multi-sensor. I simply added a DHT22 externally to the rear of the case, there are hundreds of articles and posts about using these so I won't rehash any of those.

All wired up!

Tip: Temporarily mount it while testing locations for best coverage.
That's pretty much it. I now have a PIR with a neatly integrated ESP8266. The USB port D1 is easily accessible should I want to flash new firmware onto the device. This is still a bit awkward to do, so I've configured the D1 to accept OTA (over the air) firmware updates.
Code can be found here https://github.com/oliver9523/IoT_Sensor
This is awesome. We are building a new house and I have these sensors all over. I'm trying to figure out your power to the Wemos 3.3v. What did you do to regulate the voltage from the sensor?
ReplyDeleteActually, I'm thinking now that you are pulling directly to the Vin and then outputing 3.3v to the DHT22. Correct?
ReplyDeleteCorrect, I'm using a cheap DC-DC Step Down Buck Converter from ebay, 12v in, 5v out to Vin of the Wemos D1 mini, then the 3.3v out of the mini to power the DHT22.
Delete